Rainy Day Project
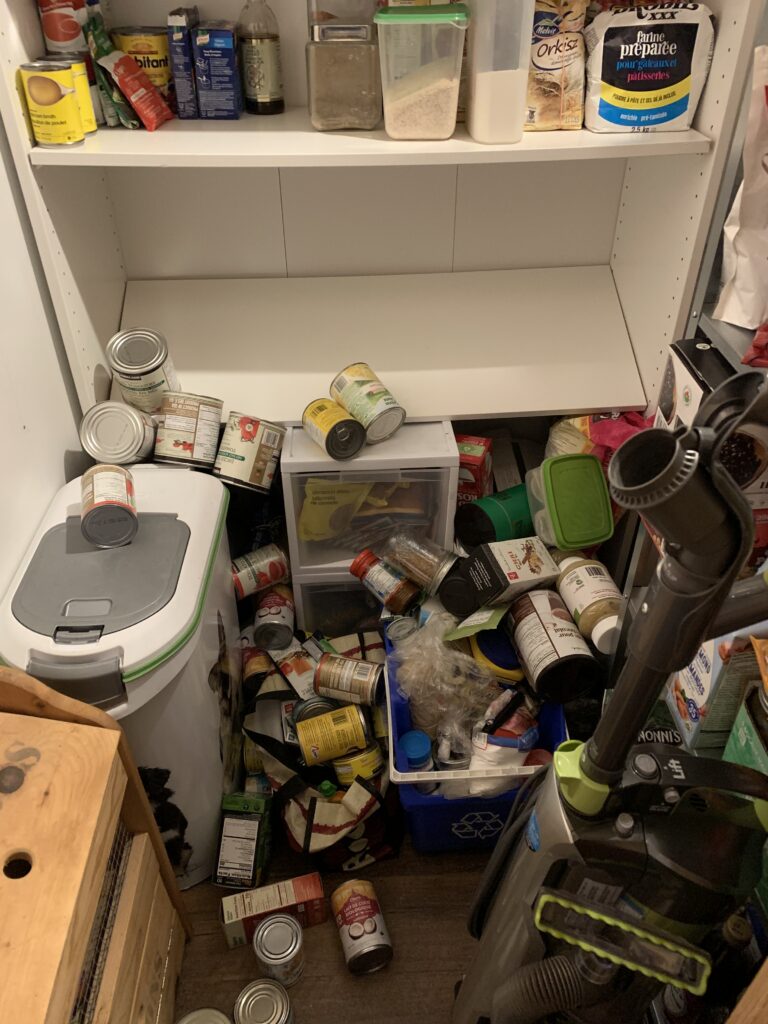
We all have those projects. You know the ones. The ones that should be done but don’t need to be done. For me this was my pantry. When I moved into my house I was so happy that there was a walk-in pantry. I gleefully filled it up with all of my dry goods and small appliances that I don’t use every day. Everything was fine … until it wasn’t. About a month after moving in the shelving couldn’t handle the stress of all that food. It collapsed with a loud thunder. It scared the crap out of me. I bowed my head in defeat and cleaned up the mess. I put some extra screws in the shelves and put everything back. That lasted for about an hour and then it fell again. So I put in a few more screws. I put only light stuff on the shelves and relegated my heavy items to the floor. Not the best solution but it would work for now.

Flash forward a few months. It’s a very cold and rainy Saturday. I don’t feel like doing anything outside. Perfect day to tear it all apart and start over.
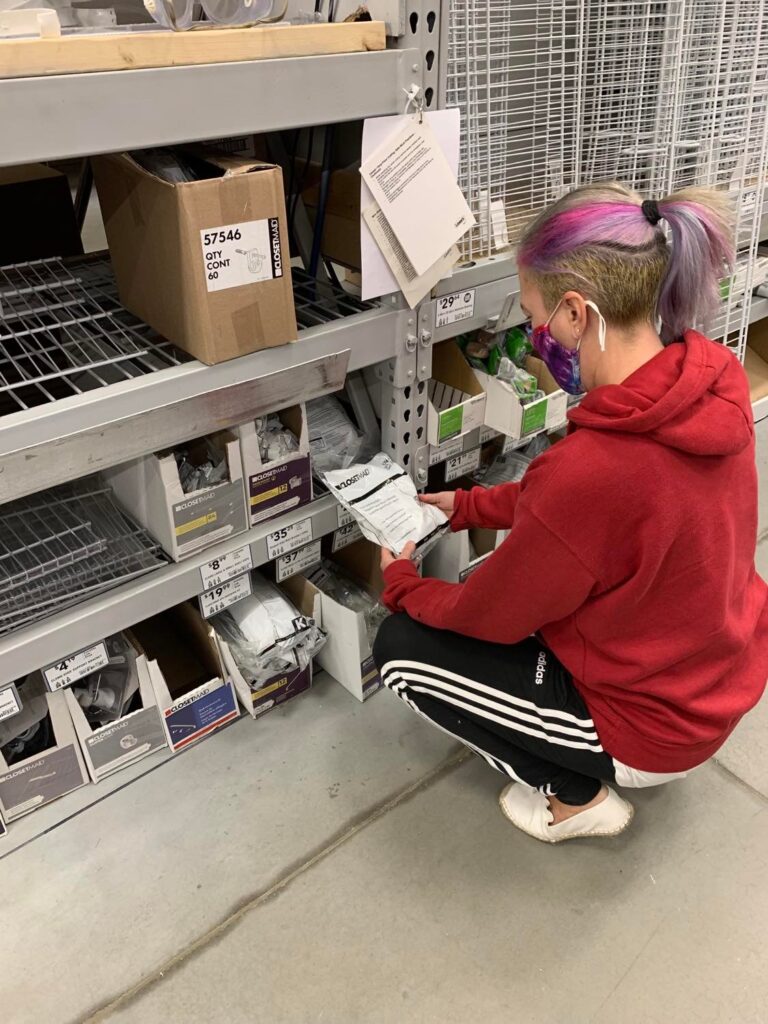
I was lucky enough to get some white wire metal shelving from a friend. They wanted it out of their basement and I hate to say no to free stuff that I think I can use. I feel good when I can save stuff from going into the landfill.
I measured up the pantry and then the shelving that I was given. It wasn’t quite enough so I went out and bought one more shelf. I have lots of spare wood bits out in the shed and some screws in the garage so I thought I was all good. Here’s how it went….
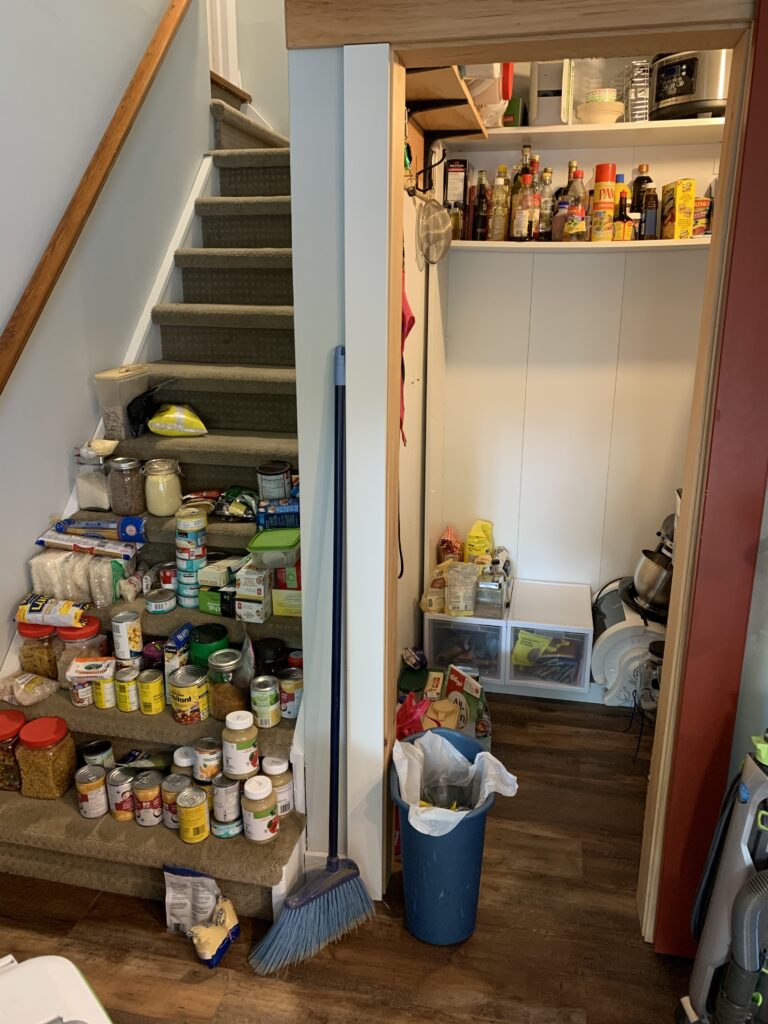
1. Empty the pantry. OMG I had no idea the amount of stuff I had in there. I was running out of places to put it all.
2. Get rid of the melamine shelving. I’m not really sure how they got it in there. The unit was bigger than the doorway and there’s not much room to maneuver. I wasn’t saving it so it went out in pieces.
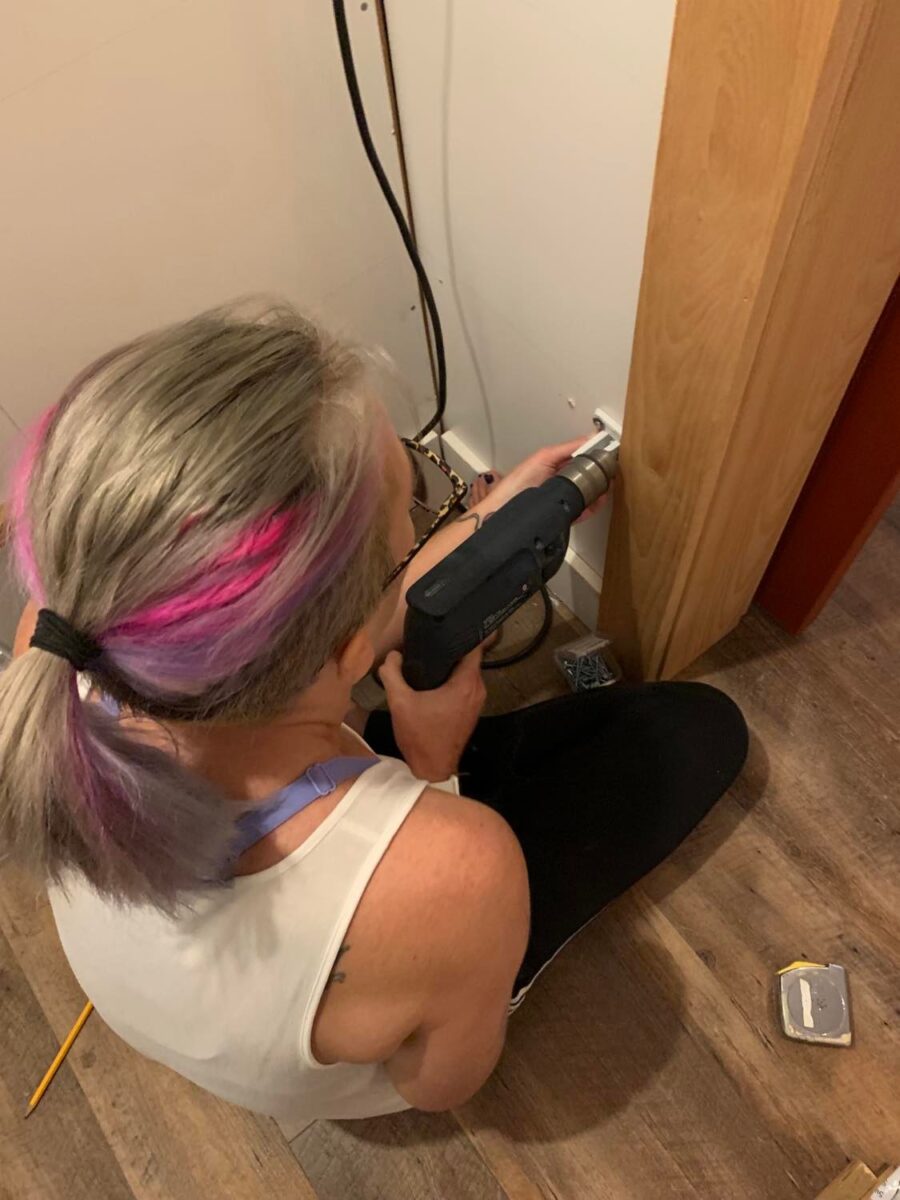
3. Measure and mark where I wanted the shelves to go. I used a level to make sure it would be straight. I am lucky that the stud locations were clearly indicated on the wall from the previous owners.
4. Screw wood bits to back and sides of wall for the shelf to sit on
5. Cut shelves to fit. This was fun. I got to use my bolt cutters. My arms were sore the next day.
6. Place shelves on wood blocks that were screwed to the wall.
7. Realize that this isn’t going to work and go back to the drawing board.
The shelf fit but it kept tilting forward. I can’t have things falling again. Off I go to the hardware store. I purchased some plastic end bits that are specifically for the wire shelving and I got some metal strapping.
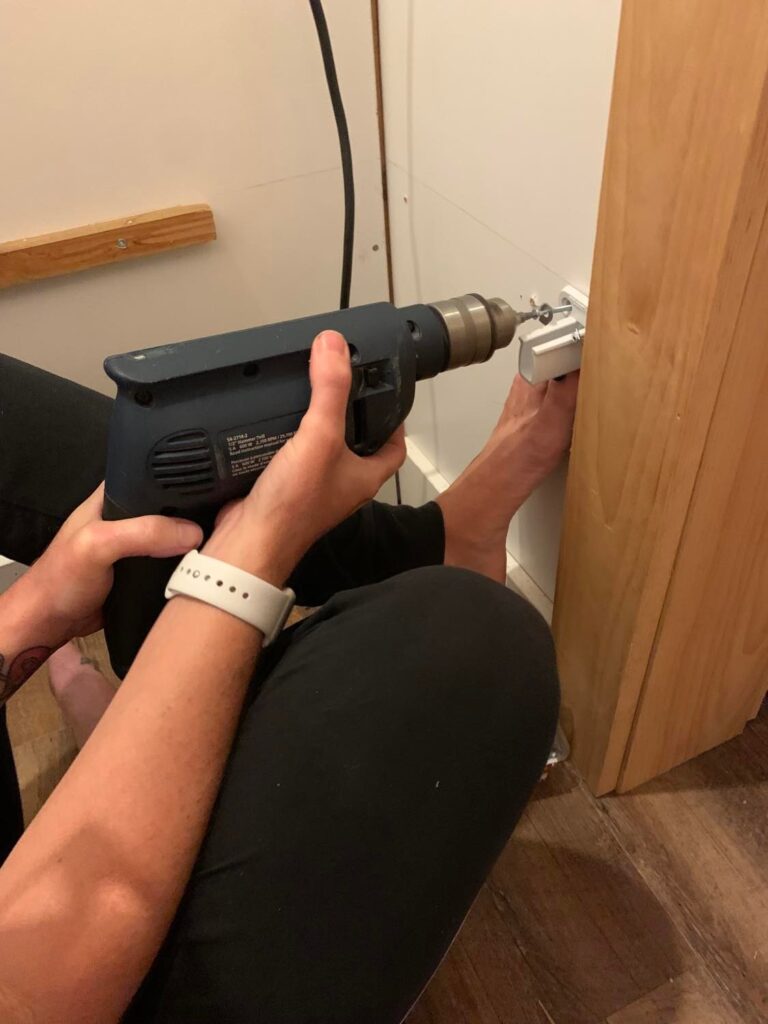

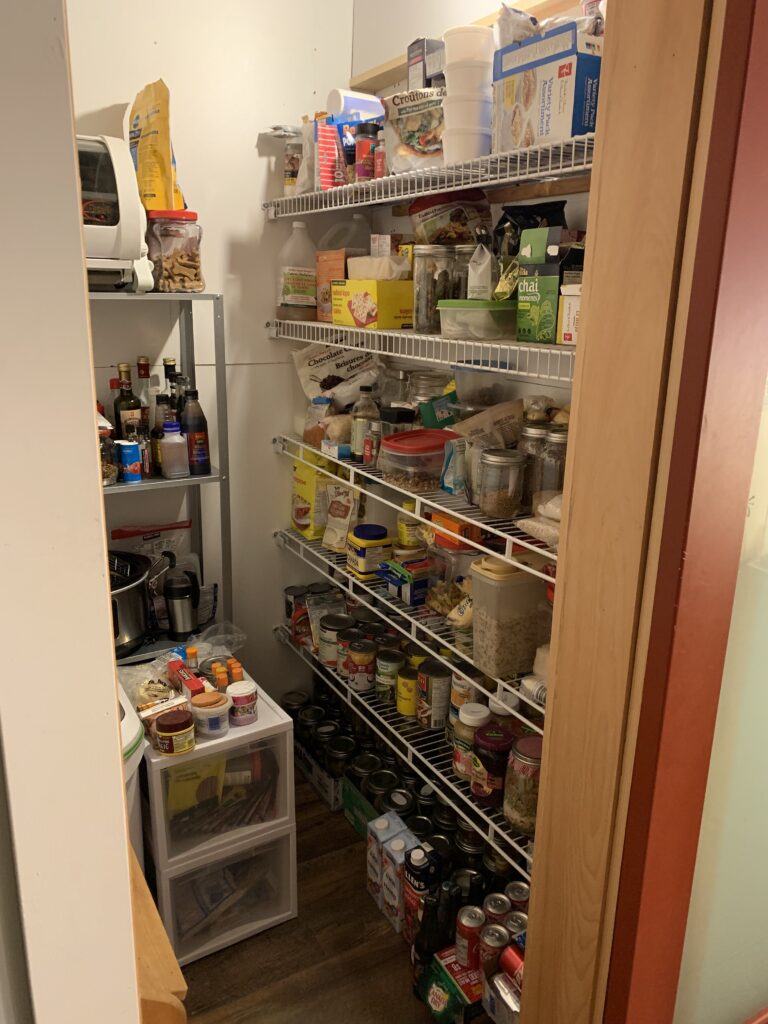
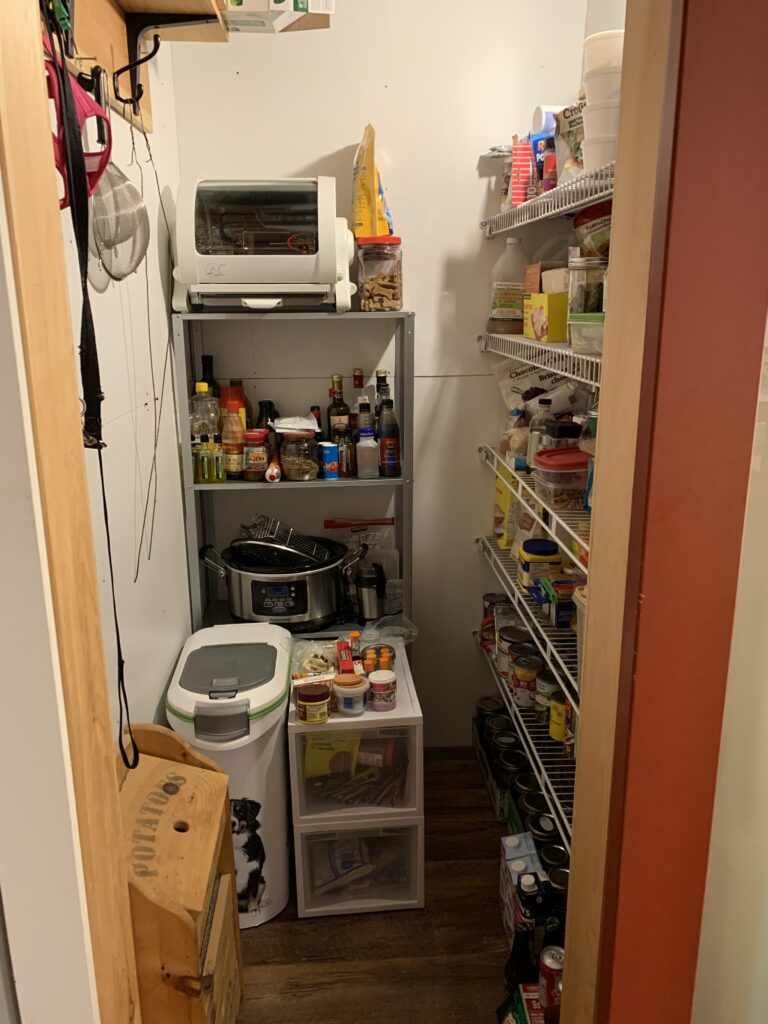
Back to the pantry. I removed the wood blocking I had installed on each end and instead put the plastic bits there. I then used the metal strapping to secure the back of the shelf to the wood blocking along the back. Yaaaaaaa. The shelf is secure. I repeated this for the other 4 shelves and voila! I have a new pantry. I have more shelf space and everything is organized. Now all I need to do is start cooking and baking to get rid of some of this stuff.

Kayak Luvin'